With WordPress, it is very easy for anyone to create forms for various purposes. However, it is sometimes difficult for the non techies to integrate it with various CRMs, SMTP services or Databases to store the results.
But with elementor pro, it is very easy for anyone to create the form, specify redirection, integrate it with email marketing services such as Mailchimp or aweber, make it multistep (after the introduction of Elementor v2.10 ) and what not.
Even though these functions are enough for those who are looking to have a form on their website or landing page for leads.
However, if you want some conditional logics on your form or use icons in the fields then currently it is not possible with elementor pro only. As such, to add this and many other functionalities, we will use Dynamic Content for Elementor Plugin which is an awesome plugin to make your elementor based WordPress website more powerful and dynamic.
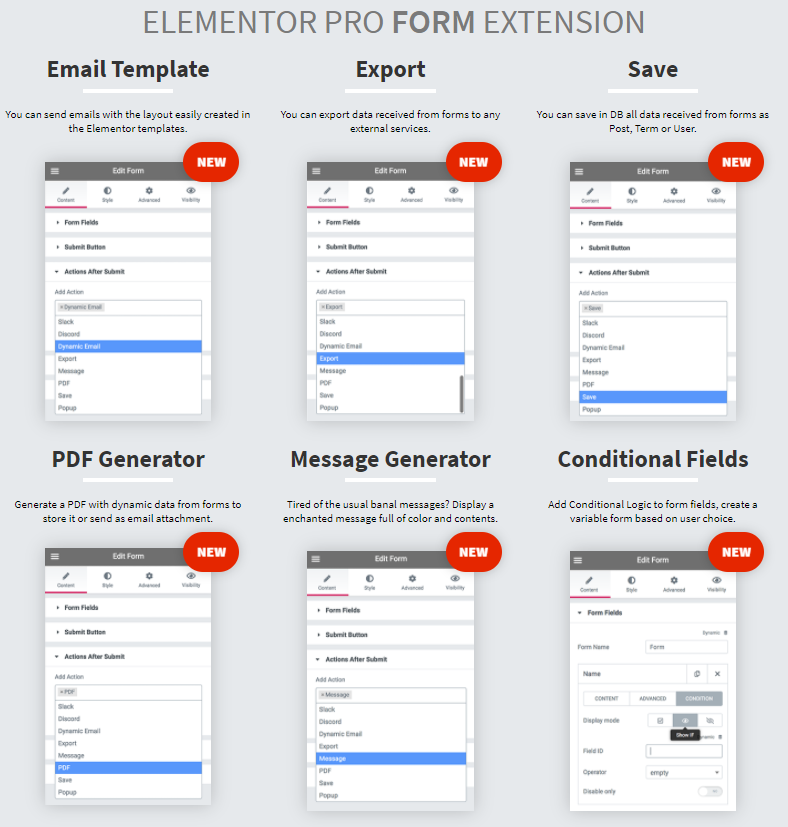
Required Plugins: Elementor & Elementor Pro, Dynamic Content for Elementor
Once installed you can manually toggle the features of dynamic content for elementor plugin:
- Go to: Elementor> Dynamic Content
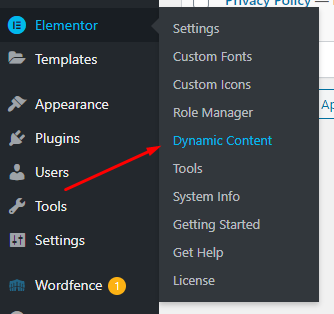
- Now you can enable/disable the features that you want.
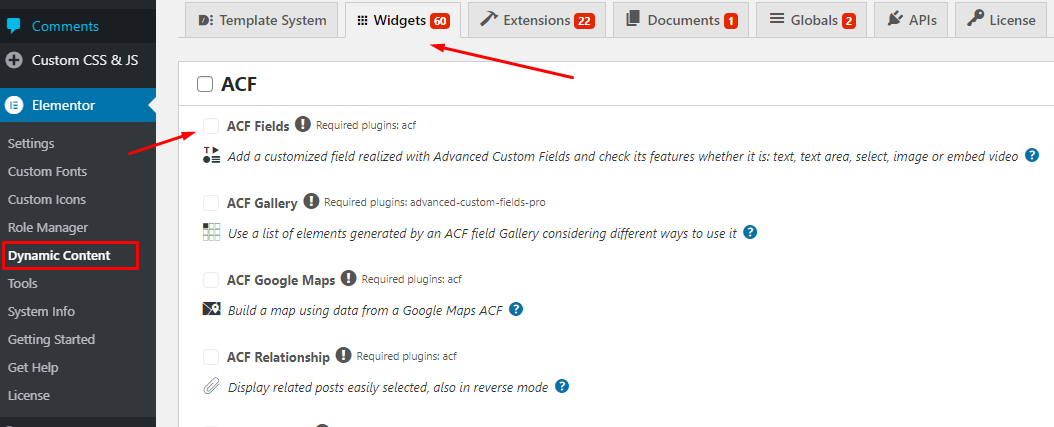
- Here, make sure that features related to Elementor Pro form are enable.
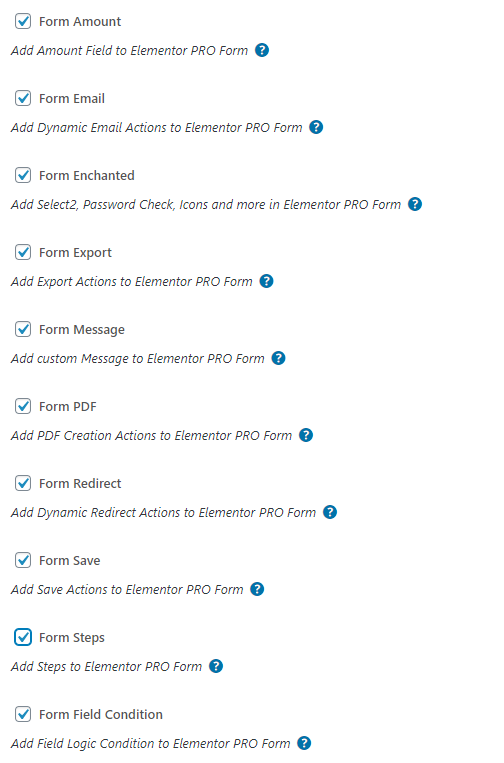
- Sometimes, multistep extension of dynamic.ooo conflicts with the existing elementor pro widget. To eradicate that issue, you can disable ‘Form Steps‘ extension.
How To Make MultiStep Form With Conditional Logic and Icons Using Elementor
Add A Simple Form
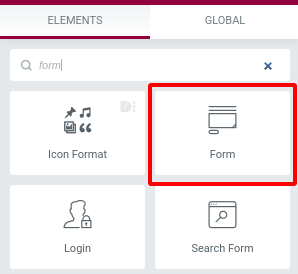
From the Elementor widgets, find Form widget and drag it inside the column where you want to display.
Adding Icons inside the form fields (input)
To show icons on the label or inside the form field make sure the dynamic content plugin is activated, and now go to the specific fields and click the magic stick icons. Here you can define the maximum and minimum length for the fields, enable the address autocomplete if it is related to geo and use the icons.
![]()
Click on whether you want to show it on ‘label’ or ‘input’ and then select the icon for the field.
![]()
Making the Elementor Form Conditional
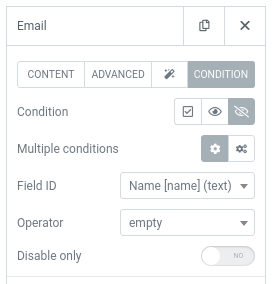
To make your form conditional you have to define the conditional logics. We are going to make it conditional using dynamic content plugin. So, make sure you can have installed and activated this plugin.
When the plugin is activated, you can find the condition tab on the fields. Where you can set the conditions based on other fields’ values.
Turning to Step Form
In order to make your form as a multistep form, you can follow the below steps:
To make your form as multistep, you have to first segregate your form in various steps. For say, you have 6 fields in your form viz. First Name, Last Name, Email, Phone, Subject & Message.
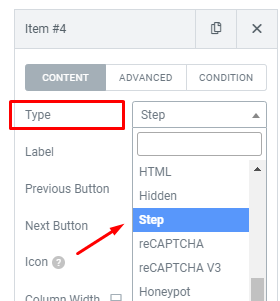
Now you want to make it a multistep form where 3 fields are shown in the step one and the rest in step two. To do this, you will simply add a field after the third field or above the fourth field and choose its type to be “step” (as shown in the screenshot below).
You can also do some settings with your step form:

Once the structure is ready, you can go ahead to the “style” tab and decorate your form according to your website look and feel.
Don’t forget to define the form’s actions after submit. Also, you can use Google Capcha to make sure you are not flooded with spam when your form is live on the production website.


