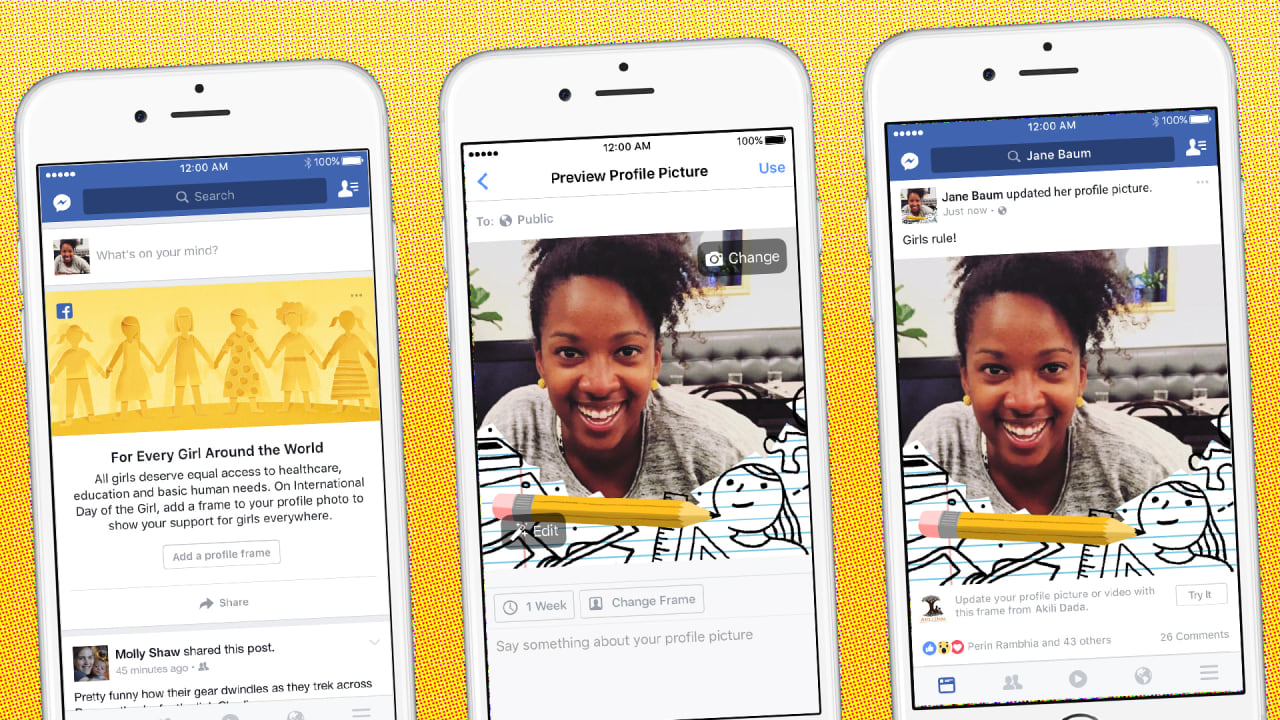
Every Facebook enthusiasts want to make changes in their profiles and photos uploaded on Facebook. A Frame on Facebook about the recent trend shows the user indulgence, knowledge, views and perceptions. Some of the most used Frames on Facebook in India are “I love India”, “Mai bhi Chowkidar”, “Jai Hind” and more. We shall discuss at how you can change your photo frames easily be you are on Facebook Application or Website. Let’s get started.
To start with, undoubtedly, you just need to have an account on Facebook, create an account on Facebook. Now open your Account with the Facebook Official Application. Once logged in you will able to find the right navigation button below the messenger or adjacent to notification button.

Just tap on it and You will be able to find the “Photos” option. Just click on it and you will find more tools for doing adjustments with your photos.

Now here you can Add a Profile Frame, Add a frame to your existing photos & post them. However, to get access to your existing or local photos you need to provide the storage permission for the Facebook Official App. On the adjustments activity of the app you can find the available adjustment as to Frame, Profile Picture Guard & Add Design. You might know about this Picture guard which saves your picture from contradictory uses. Adding Designs is like simple adding some PNG design elements over the Picture.

Clicking on the “Edit Frame Button” will let you exercise more editing options where you can search for any frame. Also, you will find suggested frame. Frames will be categorized in Facebook, Flags & Locations category as well.

If you are on the website, then you can easily apply any frame here.
How to Submit Your Own Photo Frame to Facebook
Submitting own photo frame to Facebook is pretty easy. Facebook lets you submit Augmented reality frames and Simple frames too for the review. The below steps are involved for submitting own frame to Facebook.
- Create a Frame in High Resolution with Transparent Background not covering major middle area of the canvas.
- Go the Facebook Developer website and then click create a frame.
- Click on Get started & a pop up will appear asking to upload the frame.
- Select whether you want to upload for “Profile Picture” or “Facebook Camera”
- Frame for Facebook Camera needs to be in “1920×1080” pixels for the better response.
- Upload the Frame (Icon) and Preview it in real time on different modes. Adjust it for the best appearance.
- Hit “Next” and give it a Name. Set its location, availability and keywords.
- Once you are finished with all the steps just hit “Next” and submit it for review.
- You will be notified shortly about the approval of your frame.
So this is how you can easily upload the Frame for the public use on Facebook. I hope you found this article helpful for setting a desired frame for profile pictures and any other pictures on Facebook. You can subscribe to DroidCrunch on YouTube for interesting videos.


